


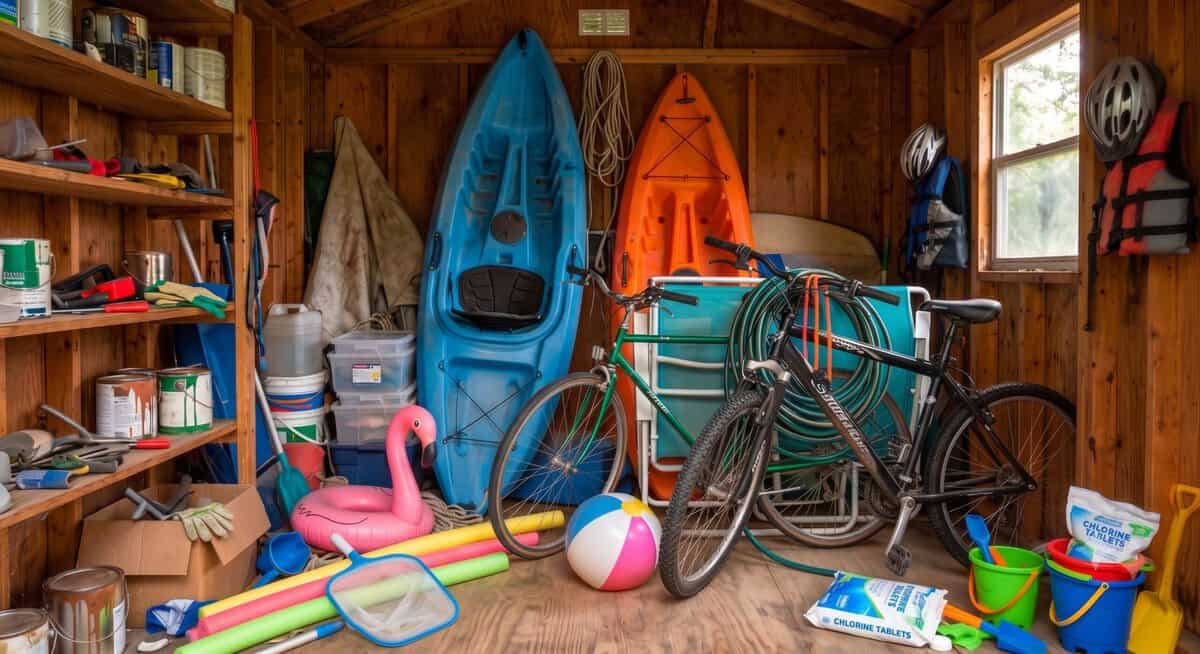
Summer is the season of outdoor adventure, family vacations, and backyard fun. But alongside the sunshine and warm weather comes an undeniable truth: summer is also the season of bulky, awkwardly shaped gear. Between the multiple family bicycles, the kayaks you use on the weekends, the camping equipment, and the towering mountain of pool noodles and inflatable flamingos, your backyard shed can quickly transform into a chaotic, unnavigable mess.
When seasonal items are simply tossed into the shed and piled on the floor, they are not only incredibly frustrating to dig out when you actually want to use them, but they are also at a significantly higher risk of being damaged. Scuffed bike frames, punctured pool floats, and warped kayak hulls are common casualties of poor storage practices.
Learning how to properly organize a storage shed and getting your summer gear stored securely requires a shift in perspective—specifically, looking up. It requires thinking outside the box and, most importantly, off the floor. An organized shed reduces stress, protects your investments, and ensures that you spend your weekends enjoying your gear rather than tripping over it. Here are some efficient shed organization ideas and ways to stow your bulky seasonal items.
The Golden Rule of Shed Storage: Elevate & Clear the Floor
The absolute biggest mistake shed owners make is relying on valuable floor space for general storage. The floor of your shed should be reserved exclusively for heavy, wheeled items that cannot be lifted safely, such as lawnmowers, wheelbarrows, snowblowers, etc.
Everything else—bikes, boats, tools, and toys—can go on the walls or the ceiling. Maximizing vertical space is the true secret to a functional, highly efficient storage shed. By clearing the floor, you create wide, safe walkways that allow you to access any item in the shed without having to move three other things out of the way first.

Conquering the Kayaks, Canoes, & Paddleboards
Watercraft like kayaks, canoes, and stand-up paddleboards are arguably the most difficult items to store due to their extreme length, awkward width, and relative fragility. Leaving them resting flat on the ground makes them highly vulnerable to hull warping (especially in the summer heat) and could provide a cozy hiding spot for spiders and critters.
- Heavy-Duty Wall Cradles and J-Hooks: Mounting padded, heavy-duty J-cradles directly to the wooden wall studs is a highly secure and space-efficient kayak storage solution. These cradles hold the kayak on its side, which is the strongest part of the hull. Make sure the cradles you choose are rated for the weight of your watercraft, and always ensure you are driving the mounting hardware directly into the structural studs, not just the exterior siding.
- Overhead Pulley and Hoist Systems: If you have an open-truss roof in your shed with sufficient height, a ceiling hoist system is an absolute game-changer for boat storage. These mechanical pulley systems allow you to strap the kayak while it is still on the floor and easily hoist it up into the rafters with minimal physical effort. This keeps the large footprint entirely out of your way until your next trip to Ellicott Creek.
- Freestanding Vertical Racks: If your shed lacks the necessary wall space or ceiling clearance, you might consider a freestanding vertical rack. These racks hold the kayak upright on its end, resting on a padded base. You must ensure your shed has the necessary vertical clearance to accommodate the full length of the boat, but this method uses a remarkably small amount of square footage.
There are also many DIY videos available online that can show you how to build your own custom kayak racks using PVC pipe or simple dimensional lumber if you prefer a weekend project over buying a pre-made system.
Taming the Fleet of Bicycles
Bicycles are notorious for creating a tangled, frustrating mess of pedals, kickstands, and handlebars. If you have multiple bikes for the family, simply leaning them against the wall is a recipe for a domino-effect disaster. Dedicated, structural systems work well.
- Vertical Wall Hooks for Daily Use: Storing bikes vertically by hanging them by their front tires is universally recognized as the most space-efficient method for multiple bikes. You can neatly line up three, four, or even five bikes along a single wall using heavy-duty, rubber-coated hooks. To ensure stability, screw a sturdy header board (like a 2×6′) horizontally across several wall studs, and then mount your hooks into that board. This ensures the weight is distributed evenly and the hooks won’t pull out of the wall.
- Ceiling Hooks for Seasonal Storage: For bikes that are only used occasionally, or for storing your summer bikes during the winter months, hanging them upside down from the ceiling rafters by both the front and rear tires is an excellent option. This keeps them completely out of the walking path and protects the tires from developing flat spots over time.
- Preparing Bikes for Storage: Before hanging bikes up, wipe down the frames to remove corrosive sweat and dirt, and ensure the chains are properly lubricated. This prevents rust from forming in the humid shed environment.

Corralling the Pool Floats, Noodles, and Toys
Pool floats, foam noodles, and inflatable water toys are incredibly lightweight, but they take up a massive amount of physical volume. They also have a frustrating tendency to blow around the shed or get accidentally punctured by sharper gardening tools like rakes or trimmers.
- The Bungee Cord Zoo System: Create a vertical “zoo” corral by securing several long bungee cords vertically between two existing shelves, or spanning them between two exposed wall studs. You can easily slide pool noodles, boogie boards, and large deflated inflatables behind the taut bungees. This keeps them securely pinned to the wall, visible, and instantly accessible, while using virtually zero floor space.
- Overhead Mesh Hammocks and Cargo Nets: Suspend a large, durable cargo net or a fabric mesh hammock from the upper ceiling corners of your shed. You can simply toss lightweight inflatables, beach balls, and life jackets up into the net, perfectly utilizing the otherwise dead space near the roof line.
- Ventilated Bins for Small Accessories: For smaller pool toys, diving rings, goggles, and water guns, use plastic storage bins—but with a crucial modification. Drill several small holes into the sides and bottom of the bins. This ensures that any residual pool water can easily drain out, and allows for airflow so the items can dry completely, preventing mildew. You can then place these bins on a simple shelving system you’ve drilled into the wall studs.
PRO TIP: Before putting away pool floats, life jackets, or wet water shoes, you should make sure they are dry and/or keep windows cracked. Trapping moisture inside a hot, dark, poorly ventilated shed can cause mold and mildew.
Q&A:
Q: Should I deflate my pool floats before storing them in the shed?
A: Yes, it is highly recommended. Deflating floats saves a massive amount of space and reduces the risk of the plastic stretching or popping as the air inside expands during extremely hot summer days.
Q: Can I hang my kayak by the grab handles?
A: No, you should never hang a kayak by the toggles or grab handles located at the bow and stern. These are not designed to support the continuous weight of the boat and can tear out, leading to a dropped kayak. Always support the boat from the hull.
Q: How do I keep spiders out of my stored gear?
A: Spiders love dark, undisturbed places like the inside of kayaks or rolled-up inflatables. Keeping the shed well-lit, regularly sweeping for webs, and using strong scents like peppermint oil around your gear storage areas can help deter them.